
I organized all my photos and videos. I use Dropbox, CapsuleCam, Photopass and my camera to take photos. Gathering and sorting these photos is a project in itself but so important! I label the folder that everything is gathered to "Originals" and then copy it to another folder labeled "Modified." That way, if a file gets corrupted, I have the original files still that I can copy over again and work with! Then each event or area that a photo or video can get organized into has it's own folder with a number in front of it that helps tell me what order the event is when I make it into the book. Sometimes, I'll create a big folder like "Magic Kingdom" with subfolders that hold photos from specific rides. These subfolders are also organized into chronological order with a number in the front.
 |
| All organized! |
From there, I go into Photoshop and create my layout. I used the Grab software to "take a picture" of the iBook shape and size to make sure I knew my layout would fit. If you would like to know more about how to scrapbook using Photoshop, head over to the Daily Digi where they have great tutorials and supplies! I made sure to also take a photo of the shape and size of the video template to make sure I left a big enough "hole" for the video to show through on the page.
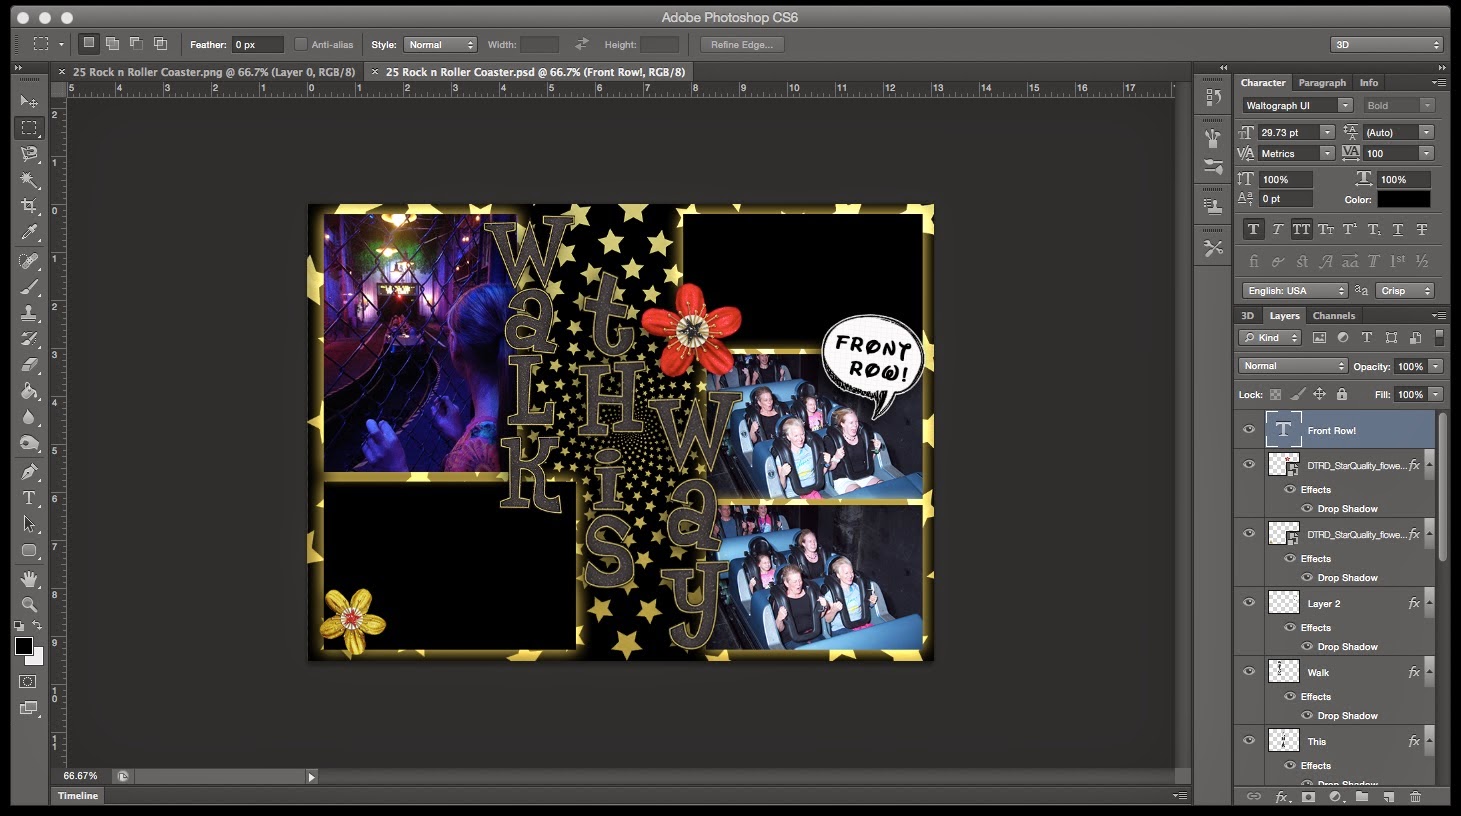 |
| The Photoshop file is complete! |
Once my layout was as I liked, I made sure to save it as a photoshop file, but also save it as a PNG. Then, on the PNG file, I flattened everything from the "hole" needed down to the paper I used as the background. Then I cut that piece out to show the transparency behind the paper, thus creating the hole. I repeated this for any widgets I was going to add into the scrapbook later in iBooks Author.
 |
| We now have a PNG file ready to be imported! |
Once the PNG was created, I added it to iBooks on the appropriate page (I label all my files with the number page followed by the title of the page) and then added in my widgets. I would set all widget layouts to not include any margins or background titles and then set all the widgets to behind the PNG file on the page. Sometimes, I would realize I needed to change something in my PNG for the widget layout to work. That's why it's important to keep the Photoshop file. That's what I opened to make changes and to overwrite the corrected PNG for the book!
 |
| The widgets are inserted and formatted, just need to be placed behind the PNG file! |
From here you can publish to the iBooks Store if you would like. If your like me and only want it for personal use on your iPad, you can export it as an iBooks file and import it into your iBooks for viewing enjoyment!
The exciting part of this technology is that there are already so many apps being written to add to iBooks Author. Check this out and see what you can add to your next book! Your imagination is the only thing limiting the awesomeness of your E-Scrapbook!
If you have any questions for me about how I created my book, feel free to email me and ask!
No comments:
Post a Comment